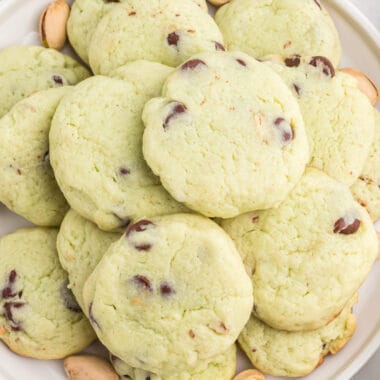
Pistachio Chip Cookies By Aubrey · Published: November 30, 2021 · Last Updated: December 7, 2021 · This post may contain affiliate links. Read my disclosure policy. 4.7 from 7 votes
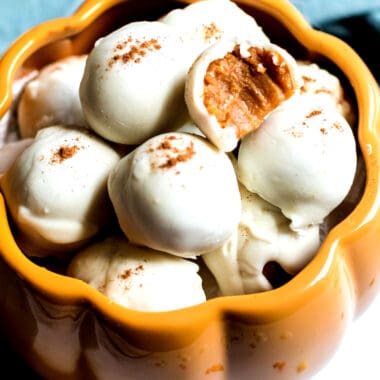
Pumpkin Pie Truffles By Aubrey · Published: October 25, 2020 · Last Updated: March 9, 2026 · This post may contain affiliate links. Read my disclosure policy. 4.6 from 12 votes
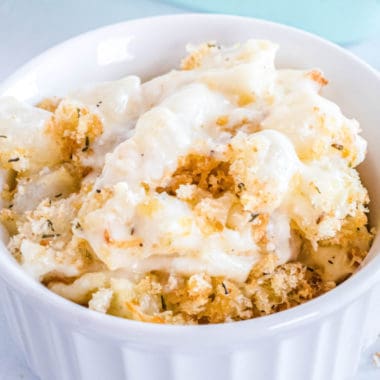
Pearl Onion & Cheese Gratin By Aubrey · Published: March 23, 2020 · Last Updated: March 23, 2020 · This post may contain affiliate links. Read my disclosure policy. 4.5 from 12 votes
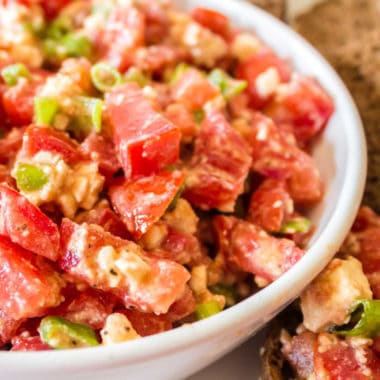
Feta Dip By Aubrey · Published: February 21, 2020 · Last Updated: February 21, 2020 · This post may contain affiliate links. Read my disclosure policy. 4.3 from 3 votes
How to Throw a Budget-Friendly Holiday Party (Cookie Exchange) By Aubrey · Published: December 5, 2018 · Last Updated: May 22, 2020 · This post may contain affiliate links. Read my disclosure policy.
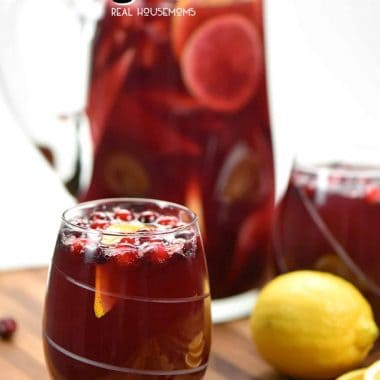
Holiday Sangria By Aubrey · Published: December 14, 2017 · Last Updated: March 8, 2018 · This post may contain affiliate links. Read my disclosure policy. 4.4 from 104 votes
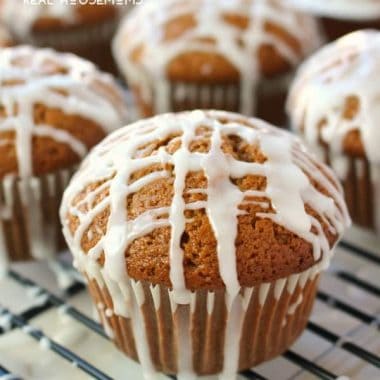
Glazed Gingerbread Muffins By Aubrey · Published: November 25, 2016 · Last Updated: May 30, 2026 · This post may contain affiliate links. Read my disclosure policy.
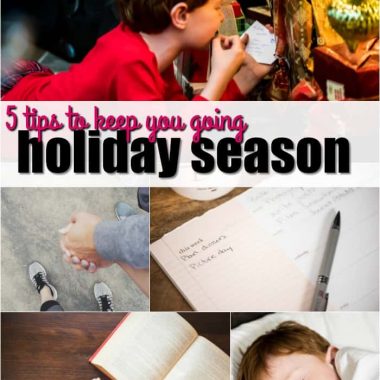
5 Tips to Keep You Going This Holiday Season By Aubrey · Published: November 23, 2016 · Last Updated: January 27, 2020 · This post may contain affiliate links. Read my disclosure policy.
Beat the Bloat By Aubrey · Published: December 28, 2014 · Last Updated: May 11, 2020 · This post may contain affiliate links. Read my disclosure policy.
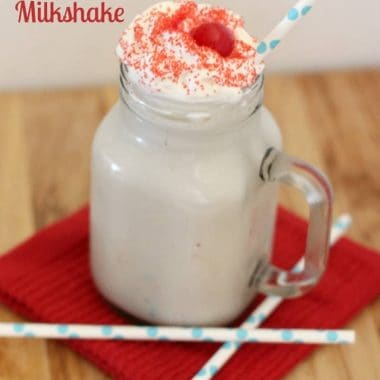
Peppermint Cherry Milkshake By Aubrey · Published: December 19, 2013 · Last Updated: March 14, 2026 · This post may contain affiliate links. Read my disclosure policy.
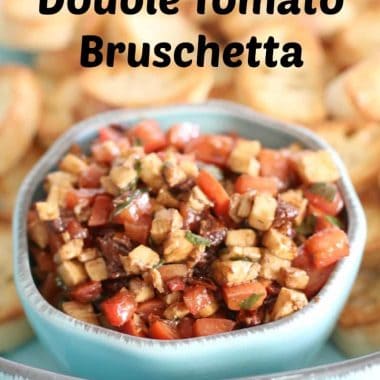
Double Tomato Bruschetta By Aubrey · Published: December 9, 2013 · Last Updated: March 14, 2026 · This post may contain affiliate links. Read my disclosure policy.
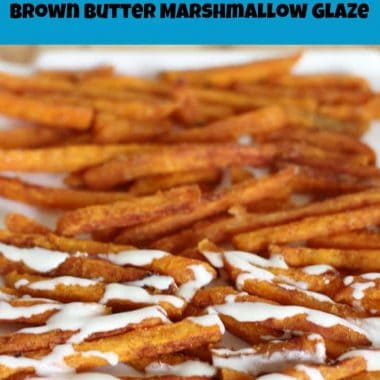
Cinnamon Sugar Sweet Potato Fries with Brown Butter Marshmallow Glaze By Aubrey · Published: November 21, 2013 · Last Updated: March 8, 2018 · This post may contain affiliate links. Read my disclosure policy.
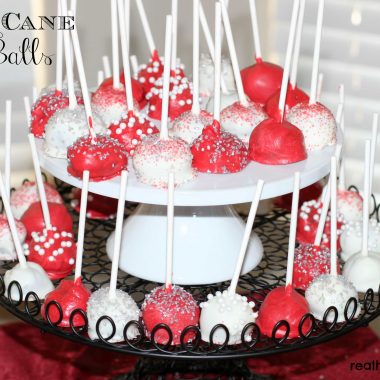
Candy Cane Oreo Balls By Aubrey · Published: December 12, 2012 · Last Updated: May 5, 2018 · This post may contain affiliate links. Read my disclosure policy.
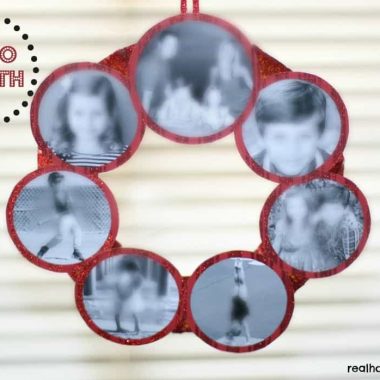
Photo Wreath By Aubrey · Published: December 3, 2012 · Last Updated: March 5, 2026 · This post may contain affiliate links. Read my disclosure policy.