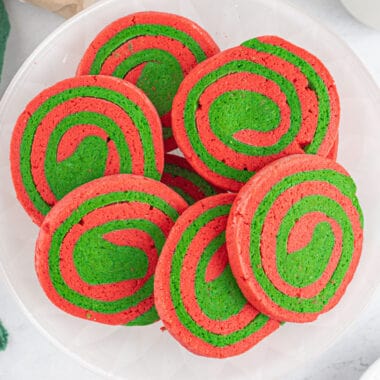
Red & Green Pinwheel Cookies By Aubrey · Published: December 6, 2022 · Last Updated: December 6, 2022 · This post may contain affiliate links. Read my disclosure policy. 5.0 from 2 votes
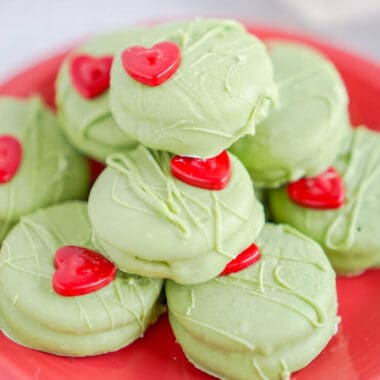
Grinch Chocolate Covered Oreos By Aubrey · Published: October 24, 2022 · Last Updated: October 23, 2022 · This post may contain affiliate links. Read my disclosure policy. 5.0 from 1 votes
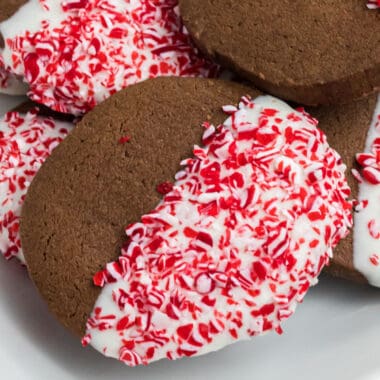
Chocolate Peppermint Cookies By Aubrey · Published: December 4, 2020 · Last Updated: March 10, 2026 · This post may contain affiliate links. Read my disclosure policy. 5.0 from 2 votes
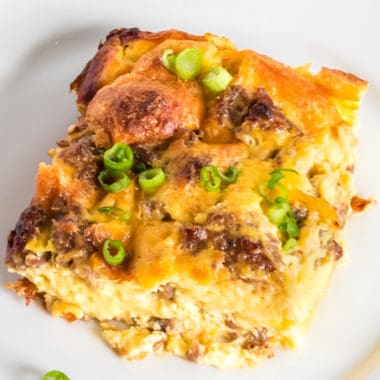
Sausage Egg Casserole By Aubrey · Published: February 15, 2020 · Last Updated: July 20, 2020 · This post may contain affiliate links. Read my disclosure policy. 4.5 from 13 votes
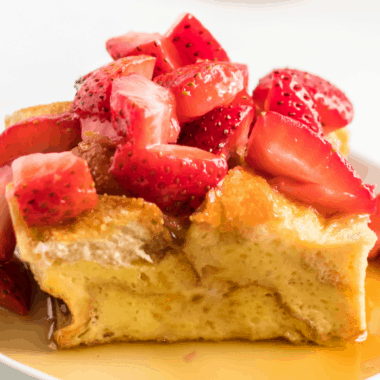
French Toast Bake with Fruit By Aubrey · Published: September 1, 2019 · Last Updated: July 20, 2020 · This post may contain affiliate links. Read my disclosure policy. 4.8 from 5 votes
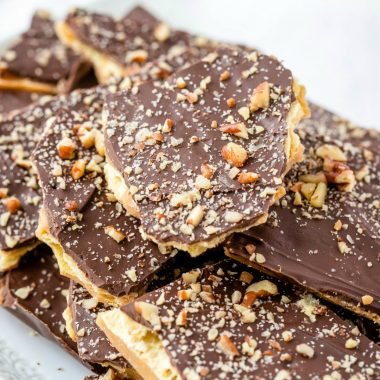
Christmas Crack By Aubrey · Published: December 12, 2018 · Last Updated: May 30, 2026 · This post may contain affiliate links. Read my disclosure policy. 4.5 from 79 votes
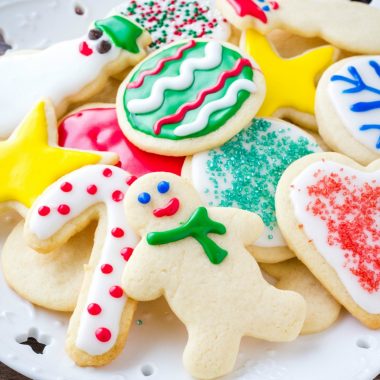
Sugar Cookies By Aubrey · Published: December 3, 2018 · Last Updated: July 30, 2019 · This post may contain affiliate links. Read my disclosure policy. 4.7 from 24 votes
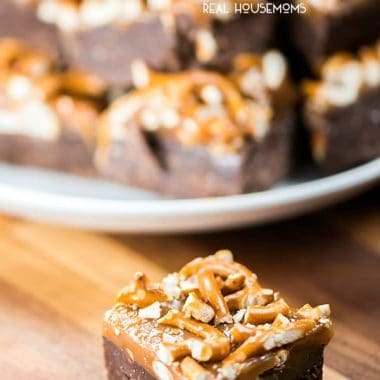
Salted Pretzel & Caramel Fudge By Aubrey · Published: December 10, 2017 · Last Updated: March 10, 2026 · This post may contain affiliate links. Read my disclosure policy. 4.7 from 27 votes
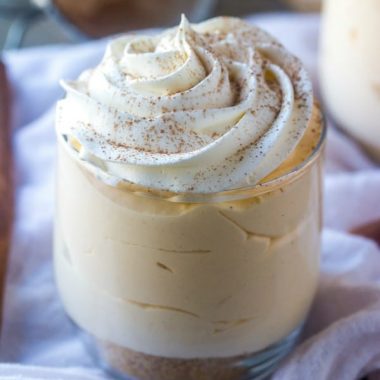
Eggnog Mousse Parfaits By Aubrey · Published: December 8, 2017 · Last Updated: March 10, 2026 · This post may contain affiliate links. Read my disclosure policy. 4.4 from 19 votes
Roll A Snowman Printable Game By Aubrey · Published: December 3, 2017 · Last Updated: March 5, 2026 · This post may contain affiliate links. Read my disclosure policy.
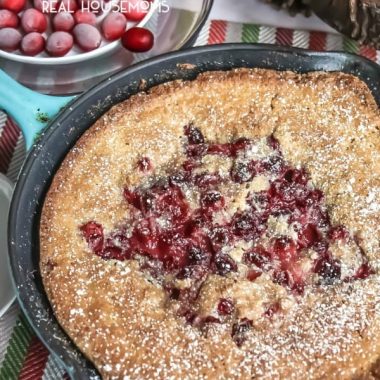
Cranberry Buckle By Aubrey · Published: November 30, 2016 · Last Updated: August 6, 2020 · This post may contain affiliate links. Read my disclosure policy. 4.0 from 2 votes
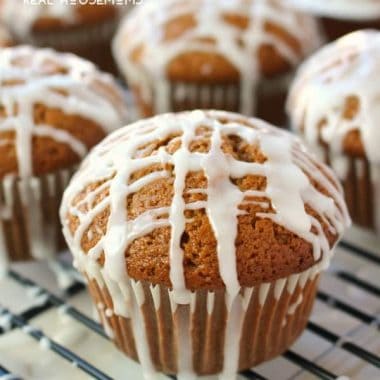
Glazed Gingerbread Muffins By Aubrey · Published: November 25, 2016 · Last Updated: May 30, 2026 · This post may contain affiliate links. Read my disclosure policy.
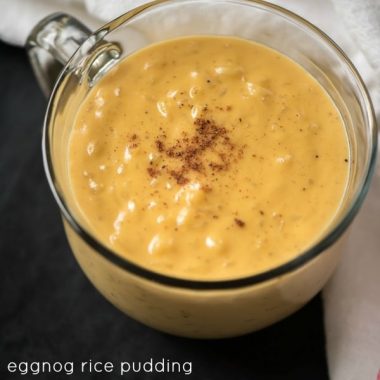
Eggnog Rice Pudding By Aubrey · Published: November 30, 2015 · Last Updated: March 10, 2026 · This post may contain affiliate links. Read my disclosure policy.
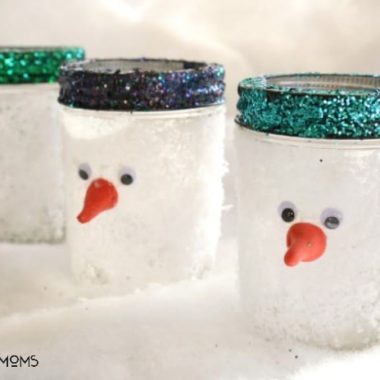
Snowman Mason Jars By Aubrey · Published: January 25, 2015 · Last Updated: March 5, 2026 · This post may contain affiliate links. Read my disclosure policy.
Candy Cane Chocolate Hearts By Aubrey · Published: January 22, 2015 · Last Updated: May 13, 2020 · This post may contain affiliate links. Read my disclosure policy.
Peppermint Playdough Recipe By Aubrey · Published: December 21, 2014 · Last Updated: March 5, 2026 · This post may contain affiliate links. Read my disclosure policy. 4.6 from 10 votes
DIY Glitter Reindeer Canvas By Aubrey · Published: December 18, 2014 · Last Updated: May 11, 2020 · This post may contain affiliate links. Read my disclosure policy.
Cinnamon Stick Holiday Candle By Aubrey · Published: December 17, 2014 · Last Updated: March 5, 2026 · This post may contain affiliate links. Read my disclosure policy.
Thrifty Holiday Decor Inspiration By Aubrey · Published: December 15, 2014 · Last Updated: March 14, 2026 · This post may contain affiliate links. Read my disclosure policy.
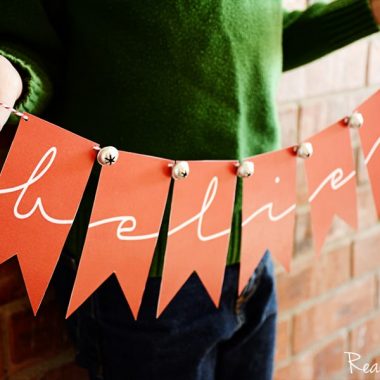
Believe Banner Printable By Aubrey · Published: December 14, 2014 · Last Updated: March 5, 2026 · This post may contain affiliate links. Read my disclosure policy.
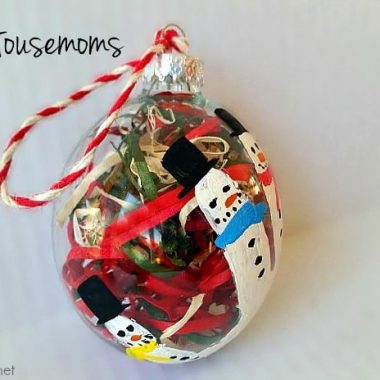
DIY Kid’s Handprint Ornament By Aubrey · Published: December 11, 2014 · Last Updated: March 5, 2026 · This post may contain affiliate links. Read my disclosure policy.
25 DIY Gift Ideas By Aubrey · Published: December 9, 2014 · Last Updated: January 31, 2020 · This post may contain affiliate links. Read my disclosure policy. Pages: 1 2 3 4 5 6
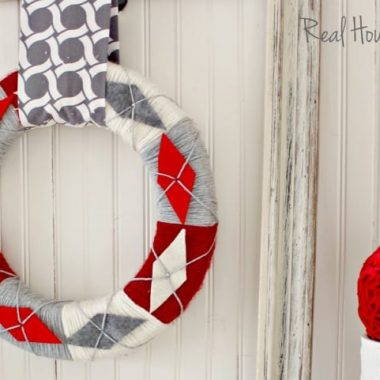
DIY Argyle Yarn Wreath By Aubrey · Published: December 8, 2014 · Last Updated: March 5, 2026 · This post may contain affiliate links. Read my disclosure policy.
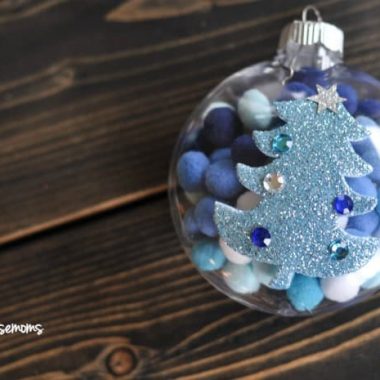
Kid-Friendly Pom Pom Ornament By Aubrey · Published: December 7, 2014 · Last Updated: March 5, 2026 · This post may contain affiliate links. Read my disclosure policy.
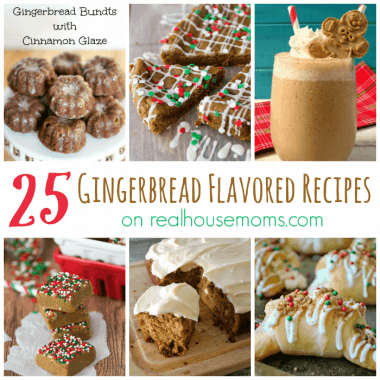
25 Gingerbread Flavored Recipes By Aubrey · Published: December 5, 2014 · Last Updated: December 14, 2018 · This post may contain affiliate links. Read my disclosure policy.
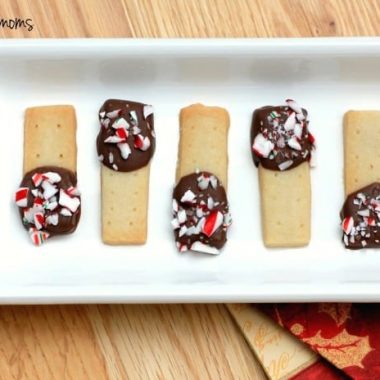
Holiday Chocolate Dipped Shortbread By Aubrey · Published: December 5, 2014 · Last Updated: May 13, 2020 · This post may contain affiliate links. Read my disclosure policy. 4.7 from 6 votes
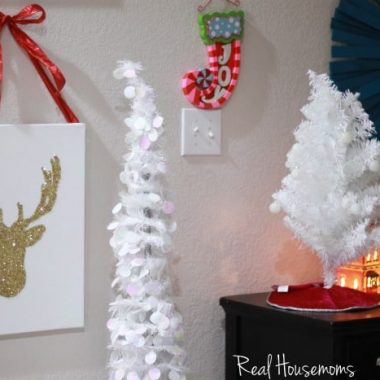
Christmas Tree Alternatives for Small Spaces By Aubrey · Published: December 1, 2014 · Last Updated: March 14, 2026 · This post may contain affiliate links. Read my disclosure policy.
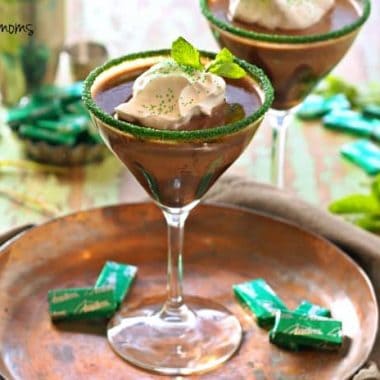
Andes Mint Martini By Aubrey · Published: November 30, 2014 · Last Updated: December 4, 2020 · This post may contain affiliate links. Read my disclosure policy. 4.7 from 3 votes
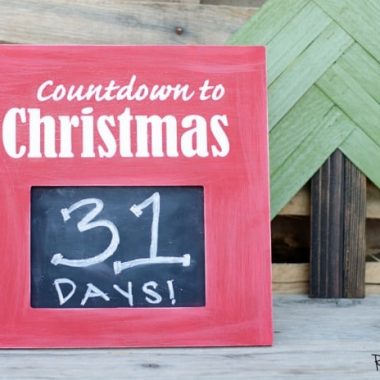
DIY Christmas Countdown Sign By Aubrey · Published: November 27, 2014 · Last Updated: March 5, 2026 · This post may contain affiliate links. Read my disclosure policy.
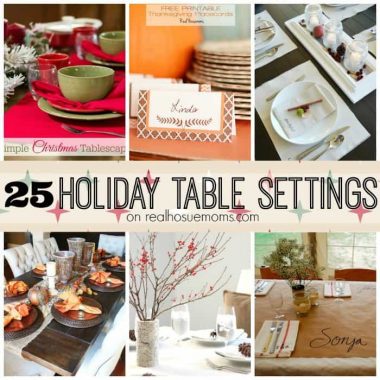
25 Holiday Table Settings By Aubrey · Published: November 14, 2014 · Last Updated: January 31, 2020 · This post may contain affiliate links. Read my disclosure policy.
Peanut Butter Chai Cookies By Aubrey · Published: December 13, 2013 · Last Updated: March 20, 2014 · This post may contain affiliate links. Read my disclosure policy.
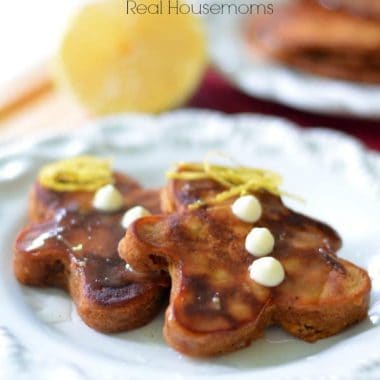
Gingerbread Pancakes with Lemon Syrup By Aubrey · Published: December 7, 2013 · Last Updated: March 8, 2018 · This post may contain affiliate links. Read my disclosure policy. 5.0 from 1 votes
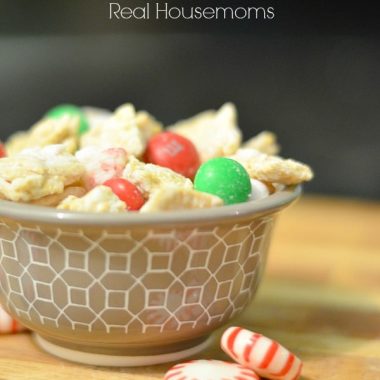
Reindeer Chow By Aubrey · Published: December 2, 2013 · Last Updated: March 8, 2018 · This post may contain affiliate links. Read my disclosure policy. 5.0 from 2 votes
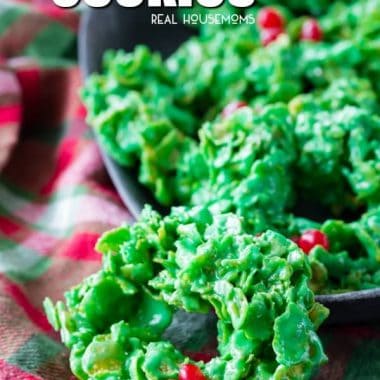
Christmas Wreath Cookies By Aubrey · Published: December 20, 2012 · Last Updated: March 26, 2020 · This post may contain affiliate links. Read my disclosure policy. 4.4 from 20 votes
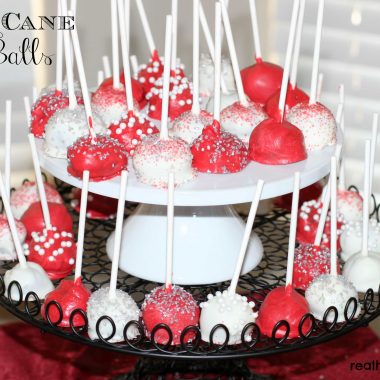
Candy Cane Oreo Balls By Aubrey · Published: December 12, 2012 · Last Updated: May 5, 2018 · This post may contain affiliate links. Read my disclosure policy.
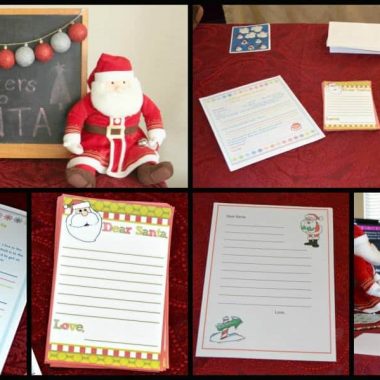
Letters to Santa Party and Appetizer Potluck By Aubrey · Published: December 11, 2012 · Last Updated: March 5, 2026 · This post may contain affiliate links. Read my disclosure policy.
Christmas Chalkboard Free Printable By Aubrey · Published: December 4, 2012 · Last Updated: March 5, 2026 · This post may contain affiliate links. Read my disclosure policy.
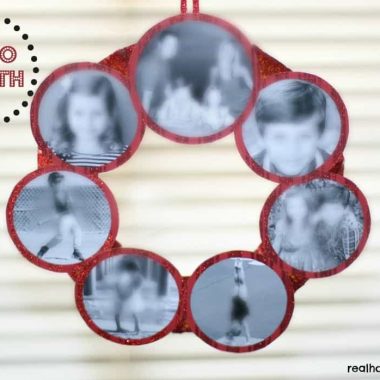
Photo Wreath By Aubrey · Published: December 3, 2012 · Last Updated: March 5, 2026 · This post may contain affiliate links. Read my disclosure policy.
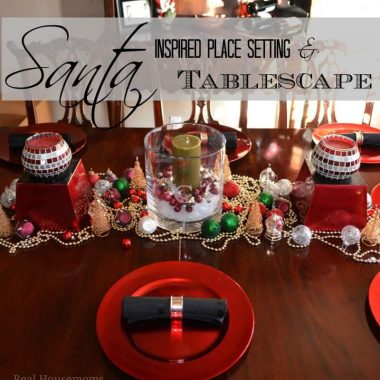
Santa Inspired Place Setting & Tablescape By Aubrey · Published: November 26, 2012 · Last Updated: March 5, 2026 · This post may contain affiliate links. Read my disclosure policy.